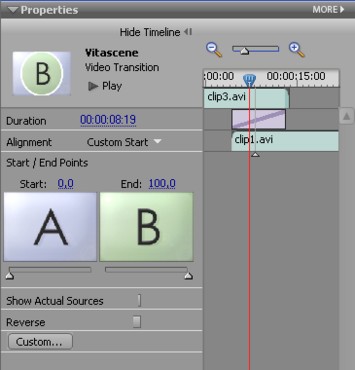
Start Adobe Premiere, place two video clips in the Timeline, superimpose them (i.e. arrange the two clips in the Timeline so that they overlap). Now go to the Video cross fade menu in the Medium field. Once it is open, you will see the proDAD folder. This folder contains the Vitascene Transition.

Now hold down your left mouse button and drag the Vitascene Transition between the clips in the Timeline.

Vitascene will not start automatically. Highlight the transition in the Timeline by clicking with your mouse and go to the Properties dialogue box (displayed on the right, next to the Adobe Premiere preview window).

Click on the User defined… Button, this will open Vitascene. Choose a suitable transition from the Transition Templates (e.g. Radial+Mask #14). A playback with the selected transition will appear in the Vitascene preview window and, of course, you can modify the selected transition in Vitascene to suit you.
Once the project has been edited and completed in Vitascene, simply press the F12 key or click on the symbol ![]() to return to Premiere Elements.
to return to Premiere Elements.
This will automatically save the Vitascene project.