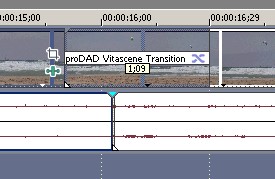
Start Sony Vegas and place two video clips in the Timeline, superimpose them (i.e. arrange the two clips in the Timeline so that they overlap).
Now go to the Transition folder, where you will find the proDAD Vitascene Transition.

Now hold down your left mouse button and drag the Default Transition between the clips in the Timeline.

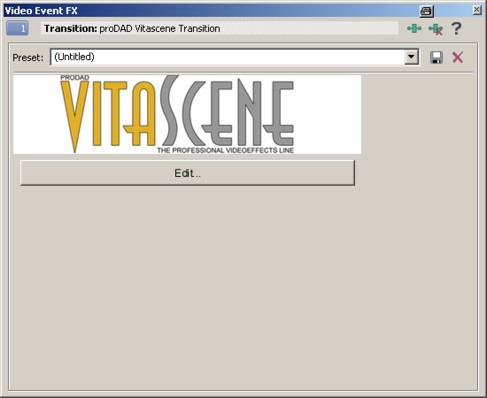
This starts the Video Event FX dialogue box.

Now click on the Edit button.
Note:
Preview images in Vitascene can only be correctly displayed, if the event, a transition in the Vegas Timeline, has been selected beforehand. Vitascene waits for a maximum of 3 seconds for a reaction from Vegas. Once this waiting time has passed, because no transition has been selected for example, Vitascene uses the default video images for the preview.
Vitascene will start, now choose a suitable transition from the Transition Templates (e.g. Radial+Mask #14). A playback with the selected transition will appear in the Vitascene preview window and, of course, you can modify the transition in Vitascene to suit you
Once the project has been edited and completed in Vitascene, simply press the F12 key or click on the symbol ![]() to return to Sony Vegas.
to return to Sony Vegas.
This will automatically save the Vitascene project.